
Import your website into a template
Import your brand and photos, then start with a proven template recommended for your business.
Where to find it in Launchmiga
Admin > Sites > New site > Import your current website, or Templates > Start with your own brand.
Available directly from Sites. You can still change everything in the builder.
Why import your website into a template matters
Import your brand and photos, then start with a proven template recommended for your business. For a gym, yoga studio, pilates studio, personal trainer, CrossFit box, or other fitness business, this task is part of the full website conversion path: visitors need to understand the offer, trust the business, and know exactly what to do next. Use this page as a practical manual, not just a quick checklist. The workflow lives in Admin > Sites > New site > Import your current website, or Templates > Start with your own brand.. When you update this part of the site, also check the mobile version, the primary CTA, the live visitor experience, and whether the page still supports your main goal: trial requests, intro class bookings, contact messages, or membership enquiries.
SEO, clarity, and conversion best practices
Keep the visible copy specific and searchable. Use plain phrases your customers would type into Google, such as gym in [city], yoga studio [city], personal trainer [city], pilates classes, trial class, membership prices, class schedule, beginner friendly training, or local fitness coaching. Relevant internal search tags for this guide include: import, template, website, brand. After you make the change, review the surrounding page. The visitor should see a clear headline, supporting proof, useful details, and a next step. For this workflow, focus on Open New site, Import your brand and Choose the recommended design. If the task changes what appears on a published page, publish again and test the live URL in a fresh browser tab.
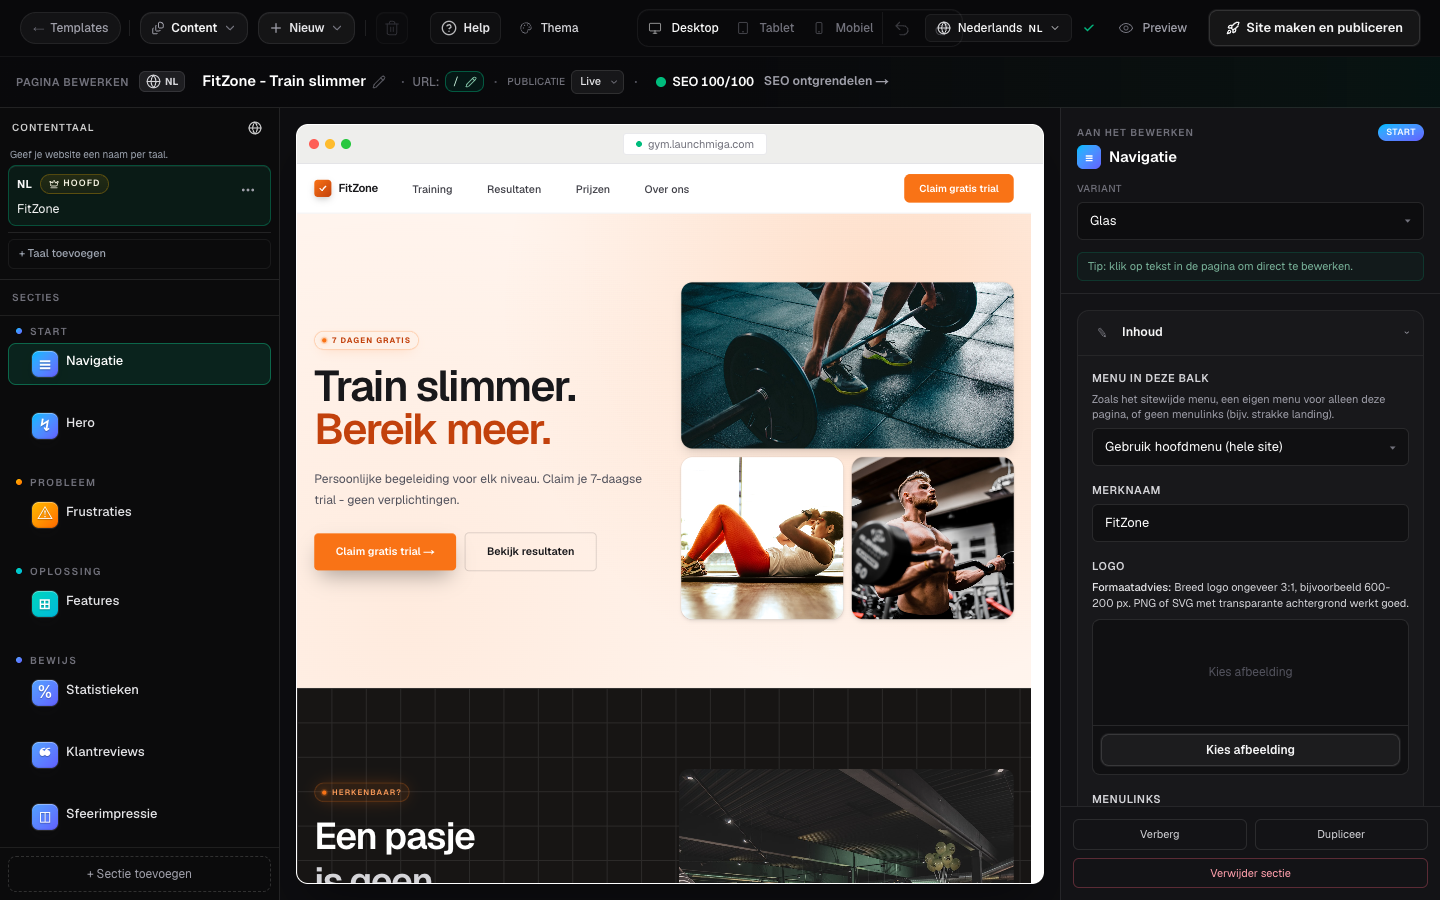
- 1
Open New site
In Admin > Sites, choose New site. Pick Import your current website. Practical example 1: always test the change on mobile and desktop, and check whether the main CTA is still visible and logical. When you finish this step, read the page as a visitor who searched for a local fitness solution. The copy should answer what this is, who it is for, why it is trustworthy, and what to do next.
- 2
Import your brand
Enter your current website address. Check the logo, colours and fonts, then select the photos you want to keep. Practical example 2: always test the change on mobile and desktop, and check whether the main CTA is still visible and logical. When you finish this step, read the page as a visitor who searched for a local fitness solution. The copy should answer what this is, who it is for, why it is trustworthy, and what to do next.
- 3
Choose the recommended design
Confirm your business type and main action. Choose one of the recommended templates and create the site. Your selected brand assets are placed into it automatically. Practical example 3: always test the change on mobile and desktop, and check whether the main CTA is still visible and logical. When you finish this step, read the page as a visitor who searched for a local fitness solution. The copy should answer what this is, who it is for, why it is trustworthy, and what to do next.